How to write a simple smart contract for Solana in Rust?
Introduction:
This rudimentary project is going to help us understand how to get started with writing a simple smart contract for Solana in Rust. By the end of this micro-guide, you should have a functioning backend for your Solana Project with the ability to run some tests that are important to make sure that our application does what we require it to.
Requirements:
You will need a few things before you can start writing out the smart contract:
Anchor: You will need the anchor framework to follow along as I have used anchor to manage the project. You can install anchor by following the instructions on their website: Anchor Installation
Solana: You can install solana by following the instructions on their website: Solana Installation
NodeJS: You will need nodejs to run the tests. You can install nodejs by following the instructions on their website: NodeJS Installation
Most Importantly…
- Rust: You will need rust to write the smart contract. You can install rust by following the instructions on their website: Rust Installation
⚠️ Once you have installed all the required tools, be sure to add them all to your path so you can execute them.
Now that you have all the required tools, let’s get started!
Setup:
- Our first step would be to run solana-keygen to generate a keypair that we can use in case we want to deploy our smart contract. You can do this by running the following command:
1 | solana-keygen new |
For this project we will just be running tests to verify that our smart contact is working. So we will not be deploying it.
Now to confirm that solana has been installed correctly, run the following command:
1 | solana-test-validator |
This will start a local validator that we can use to run our tests.
If you see a counter on the screen, it means that the validator has been set up correctly.
- Next we will create a new anchor project by running the following command:
1 | anchor init <project-name> |
Once this completes, go ahead and run the following command:
1 | anchor build |
Now inside our anchor project folder we should see an Anchor.toml file.
This file contains our programID which we will use in our rust code.
Now we also need to have a wallet to monitor and approve the transactions that take place after we run tests on our smart contract. That is also specified in the Anchor.toml file.
Writing the smart contract:
First let us move into the programs directory and then into our project directory. Over here we can find the lib.rs file inside the src folder. This is the file where we will write our smart contract.
Now let us start with the following:
1 |
|
Since everything on Solana is an account, we need to give it a few specific attributes such as who is the owner of the account and what is stored in said account. This is what we are doing in the struct that we have defined.
Now all we have left to do is the functions that allow us to create and delete an item. Let us try to make a small todo system where a user can just create and delete an item.
Before we write the actual functions, we need to specify the context of the functions. This is done by using the following:
1 |
|
This allows us to specify the accounts to be passed into the function.
Lets start with the create function:
1 |
|
- Here we are specifying who is paying the fee for performing this transaction, how much space we need to allocate for the account and the type of account we are creating.
Now in the same way we can also create a delete function:
1 |
|
If you followed all the steps till now, you can write your own custom tests to verify the smart contract.
Here is an example tests function:
1 | it("can create an item", async () => { |
Once it verifies, it should look something like this: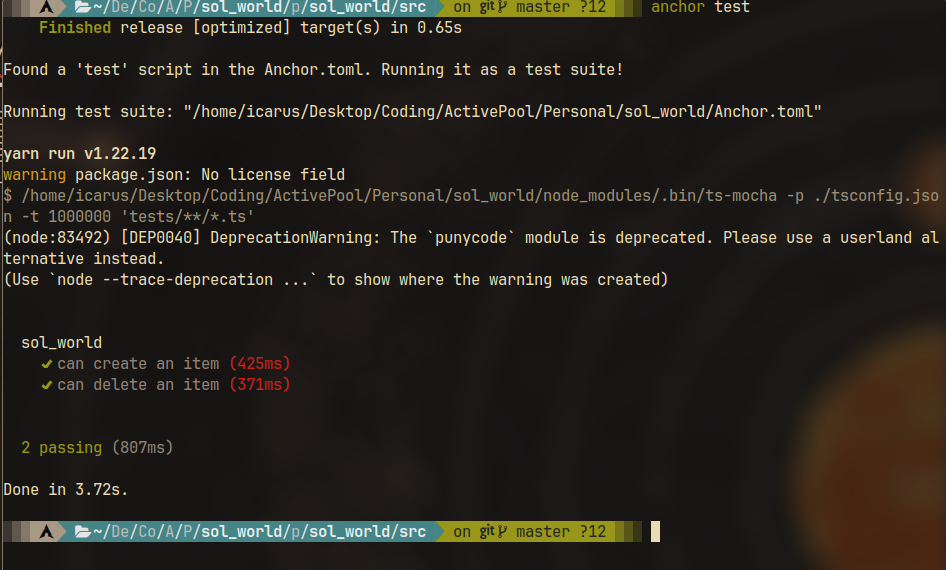
Future Scope:
- Now that we have the functions ready, we can call these functions from any frontend that we plan to use. This is a very simple smart contract but you can use this as a base to build more complex smart contracts.
Conclusion:
With this I conclude my micro-guide on how to write a simple smart contract for Solana in Rust. I hope that after reading this, you were able to successfully build and test your own simple smart contract. Testing is a crucial part of writing smart contracts so I hope this was easy to understand.